

Key Takeaways
- Back up your old phone before starting - this is the single most important step.
- iPhone users can transfer via iCloud backup or a direct cable using the Quick Start feature.
- Android users can use Google's built-in backup or the Switch to Android / Phone Clone apps.
- Switching between Android and iPhone requires extra steps for certain data types like SMS messages.
- Always verify your backup completed successfully before wiping or trading in your old device.
What you will need
Why Phone Transfers Go Wrong - and How to Avoid It
Most data-loss stories during phone transfers share a common cause: people skip the backup, rush through setup, or assume everything moved over without checking. The good news is that both Apple and Google have made the transfer process genuinely reliable when followed carefully. Understanding what can still slip through the cracks helps you protect it.
A few things that don't always transfer automatically include: locally stored music files, app-specific data for apps that don't sync to the cloud, voicemails (carrier-dependent), and as mentioned, SMS history on some Android devices. Authentication apps deserve special attention - if you use an app like Google Authenticator or a similar 2FA tool, those codes don't back up by default, and losing access can lock you out of email, banking, and other accounts.
Back Up Before You Do Anything Else
Skipping a backup before you start is the most common - and most painful - mistake people make. If the transfer fails or is interrupted, you could lose photos, messages, and contacts permanently. Take 10 minutes to complete a full backup first, then proceed with confidence.
Before you start, gather your prerequisites and choose your transfer method below. If you're new to smartphones in general, our no-jargon smartphone starting point covers foundational setup concepts that may be helpful.
What you will need
Step-by-Step Transfer Instructions
Follow these steps in order. The process typically takes 20-60 minutes depending on how much data you have and whether you're using Wi-Fi or a cable. A wired transfer is generally faster for large photo libraries.
iCloud (iPhone to iPhone)
Backs up and restores all iPhone data including settings, photos, messages, and app data wirelessly.
Google Account Backup (Android to Android)
Syncs contacts, app data, call history, and settings through your Google account automatically.
Lightning or USB-C cable
Used for direct wired transfers, which are faster and more reliable than wireless for large amounts of data.
Move to iOS app
Apple's official app for migrating data from an Android device to a new iPhone.
Switch to Android app
Google's official app for moving photos, contacts, and calendars from iPhone to a new Android device.
Back up your old phone completely
iPhone: Go to Settings → tap your name → iCloud → iCloud Backup → Back Up Now. Wait until the backup shows a current timestamp. Alternatively, back up to a computer using Finder (Mac) or iTunes (Windows).
Android: Go to Settings → System → Backup → enable Back up to Google Drive and tap Back up now. Your photos sync separately through Google Photos if that's enabled.
Choose your transfer method
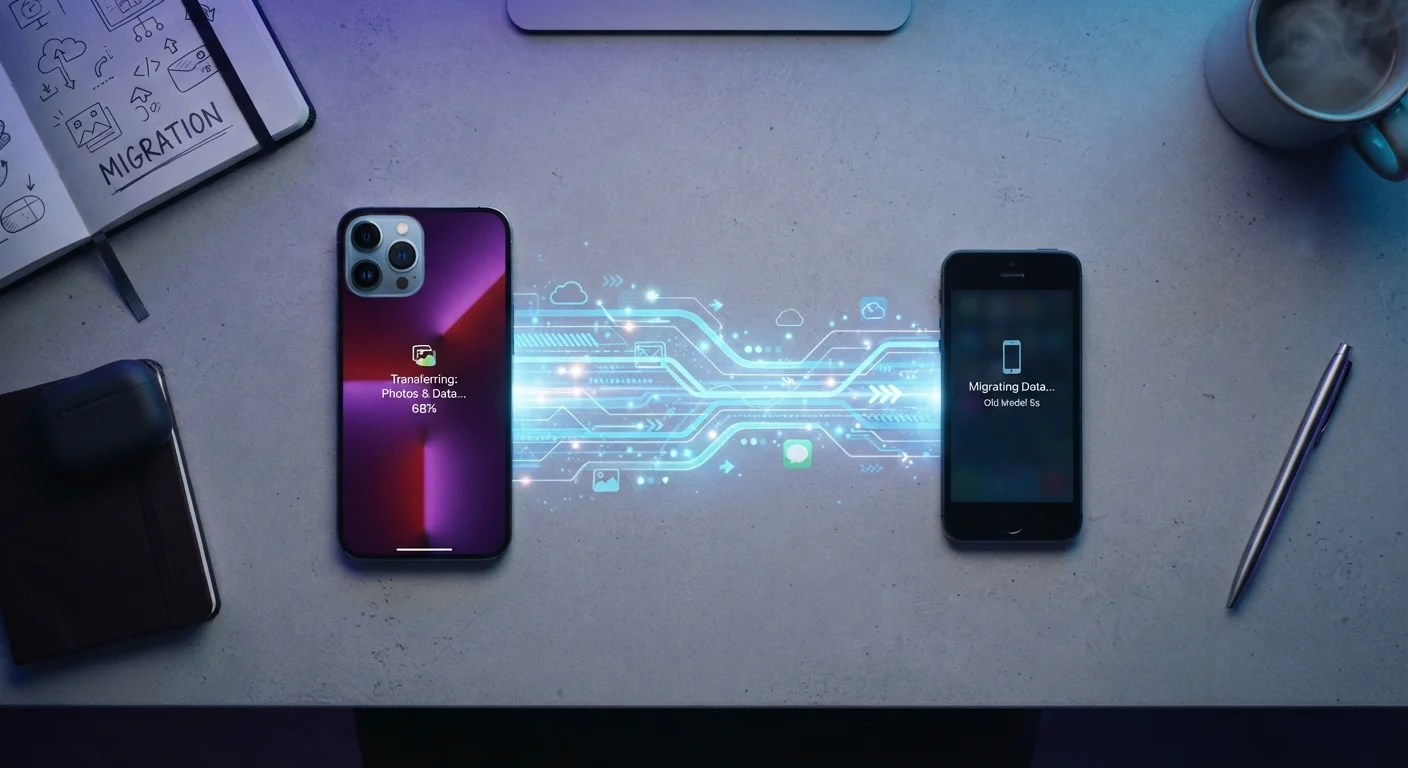
Same platform (iPhone to iPhone or Android to Android) gives you the smoothest experience. Use Quick Start on iPhone - hold your old phone near your new one during setup and follow the on-screen prompts - or restore from your iCloud or computer backup during the initial setup screen.
On Android, the setup wizard on most phones will prompt you to copy data from your old device using a cable or your Google account. Choose the cable method if you have large amounts of photos and videos - it's significantly faster.
Transfer contacts, photos, and messages
When using a cloud or cable restore, contacts, photos, and iMessages transfer automatically on iPhone. On Android, contacts stored in your Google account sync automatically once you sign in. Photos in Google Photos appear after you log in on the new device.
SMS messages on Android don't always transfer automatically - apps like SMS Backup & Restore (Android) can archive and reimport them if needed. iMessages transfer as part of the standard iPhone backup and restore process.
Reinstall and log back into your apps
iPhone: During setup you can choose to restore apps from your backup. Apps that are no longer in the App Store may not restore. Check the App Library after setup to confirm all apps installed.
Android: Google Play will offer to reinstall your previous apps automatically. Accept this option and give it time - large apps like games can take a while over Wi-Fi.
For apps that hold financial, health, or authentication data - such as banking apps or two-factor authentication (2FA) apps - plan ahead. 2FA apps often require you to manually transfer or re-enroll each account. Contact your bank if you're locked out after switching. For tips on keeping those accounts safe on your new device, see our guide to cell phone security habits.
Verify everything transferred before wiping your old phone
Spend a few minutes spot-checking: scroll through your camera roll, open your contacts list, check recent messages, and launch a few key apps. Pay special attention to anything irreplaceable - home videos, notes, saved passwords.
If you use a password manager, make sure it's installed and unlocked on the new phone before you do anything else. Also confirm your email accounts are connected and receiving mail.
If you notice your new phone is already running low on space after the transfer, our article on why phone storage fills up so fast can help you reclaim space quickly.
Transferring Between Android and iPhone?
Apple's 'Move to iOS' app (free on Android) handles contacts, photos, messages, and some apps when switching to iPhone. Going the other direction, Google's 'Switch to Android' app on iPhone moves photos, contacts, and calendar data. Neither app moves every third-party app automatically - you'll need to reinstall those from the app store on your new platform. For a deeper look at how the two ecosystems differ day-to-day, check out our Android vs. iPhone framework guide.
Don't Wipe Your Old Phone Too Soon
Keep your old phone active and unwiped until you've confirmed every piece of data has arrived on the new one. Check your photos, scroll through contacts, and open a few apps before performing a factory reset. Once you do reset it, recovery is extremely difficult. When you're ready to part with it, see our guide on trading in vs. selling your old phone.